
The One Step Most Wireless Designs Skip, and What It’s Costing Companies
Most Wi-Fi networks are designed on paper. A predictive design goes into a piece of software, access point locations get placed, and the client signs off on a heatmap that looks convincing on screen. What rarely happens next is anyone actually testing whether that design holds up in the real building before the install goes ahead.
That’s the gap an AP-on-a-Stick survey closes, and it’s the one step I’d argue is most often skipped, at real cost to whoever’s paying for the deployment.
What an AP-on-a-Stick survey actually is
Rather than trusting the prediction outright, you take a single access point, mount it on a stand at the exact height and location your design calls for, power it up, and physically walk the space with a survey kit to see what it delivers in reality. It’s a validation step, not a replacement for the design work, and it’s the difference between a network that’s been simulated and one that’s been proven.
I recently filmed the process from start to finish in a new office space, so if you’d rather see it than read about it, that’s on the blog too. This post covers the same fundamentals.
Getting set up
The kit list is fairly short: a survey device (I use the Ekahau Sidekick2, Hamina Clip or Hamina Nomad depending on the project), a tripod, a battery, a CAT 6A data cable, and an AP stand. Between them, they let you put the access point exactly where your design says it should go, rather than approximating the position, which matters more than people tend to assume. I have added links below for the equipment I use.
Alternatively, there is an all-in-one product which will save you the hassle of arranging things yourself.
Wireless Survey Devices
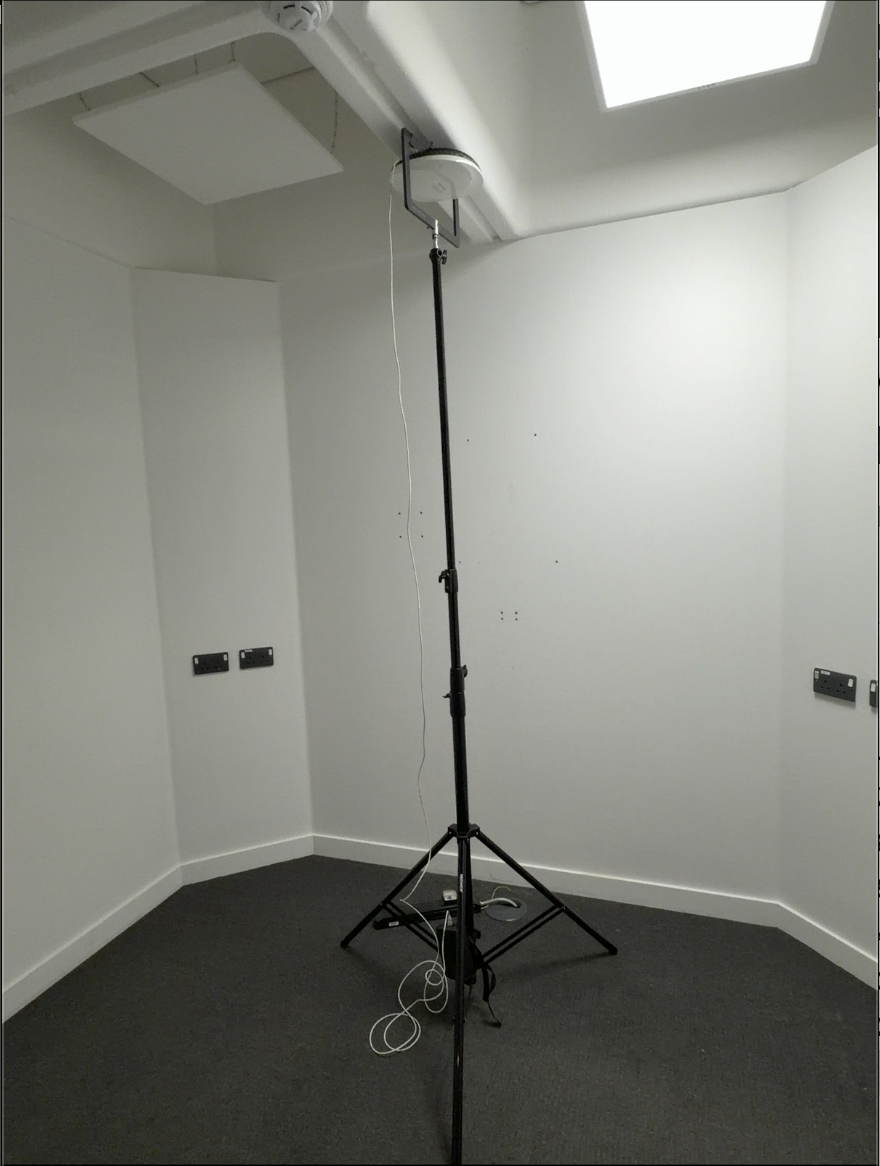
Before you even switch anything on, find the longest straight line you can measure through the building. That measurement becomes your reference distance for the whole survey, and getting it right early keeps everything that follows as accurate as possible.
How I walk a survey
Consistency matters more than most people realise here. I keep the survey device in the same position on me every time I survey, which means I can walk the same way through a space on every job rather than introducing variables between surveys.
Inside rooms, I keep the wall to my right and the survey device between me and the wall, then work around the room anti-clockwise. That pattern picks up the attenuation properly in smaller spaces and gives you genuine coverage figures, in dBm, for each access point, including whether there’s enough separation to avoid co-channel interference between APs as you go.
Don’t skip freezing the data
Once you’ve finished surveying an access point’s position, go back and freeze that AP’s data before you touch it. Move the AP first and every result you’ve just captured gets skewed, which undoes the point of the exercise. Once it’s frozen, I take a photo for the report and move on to the next location.
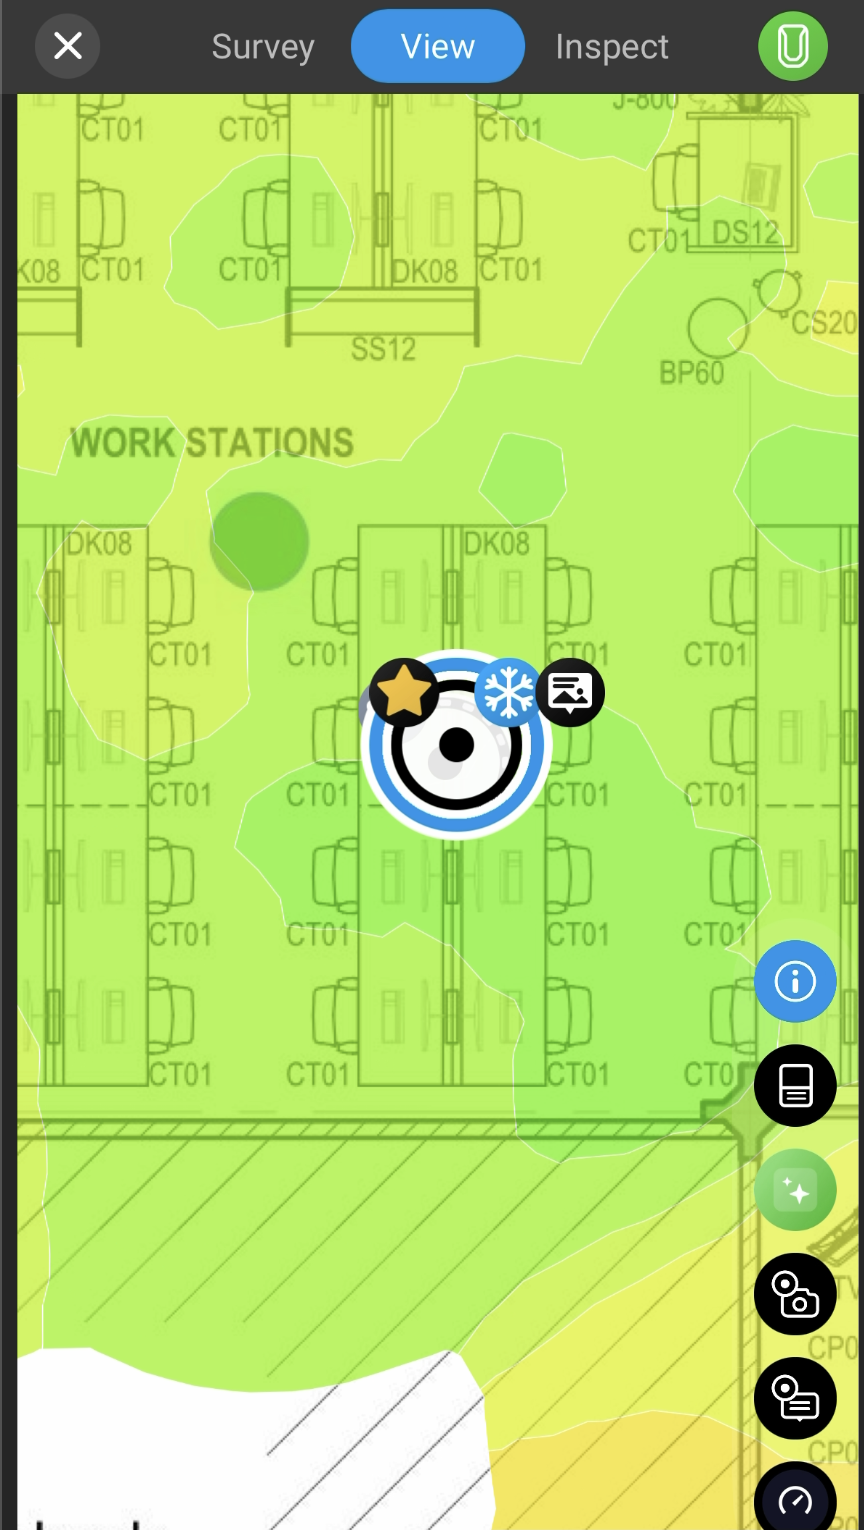
Ekahau Frozen AP
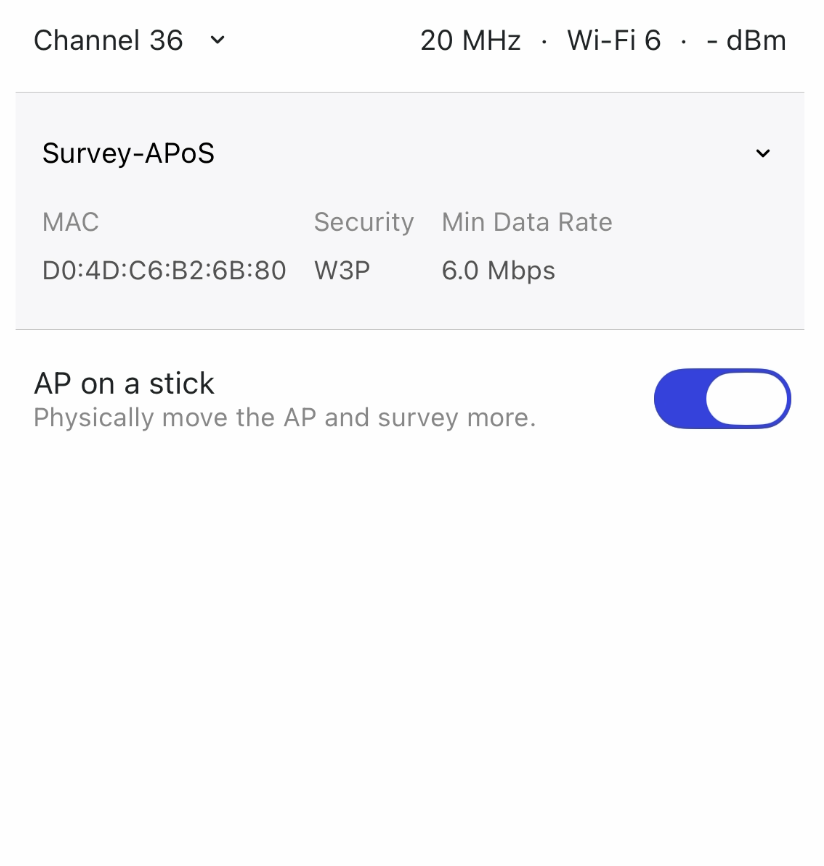
Hamina Frozen AP
Why it’s worth the extra step
Do this properly across every access point in a design, and you end the survey knowing, not guessing, whether that design is actually fit to deploy. Given how much a full install can cost, that’s a fairly small amount of time to spend confirming the theory matches the building.
That covers the fundamentals. Next time I’ll get into the more technical side of running these surveys well.